TimeSite Pro supports a special user type called a client user. Client users have restricted access to specified projects via the Project Access panel in their user record. Client users are generally given Security Access to a minimal number of TimeSite Pro screen (aka capabilities), typically the Enquiry and Authorisation screen. When a client user is created in TimeSite Pro, their security profile is blank, and your account administrator must grant explicit access to the screens that a client user is entitled to view.
Enable Client Users
Go to Settings > System Settings > Features > Client, click on Enable client logins, and click on Save.
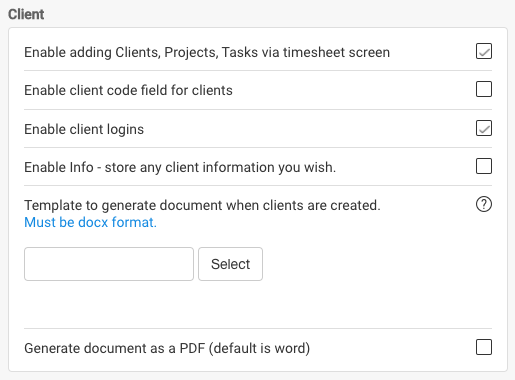
Add a Client User
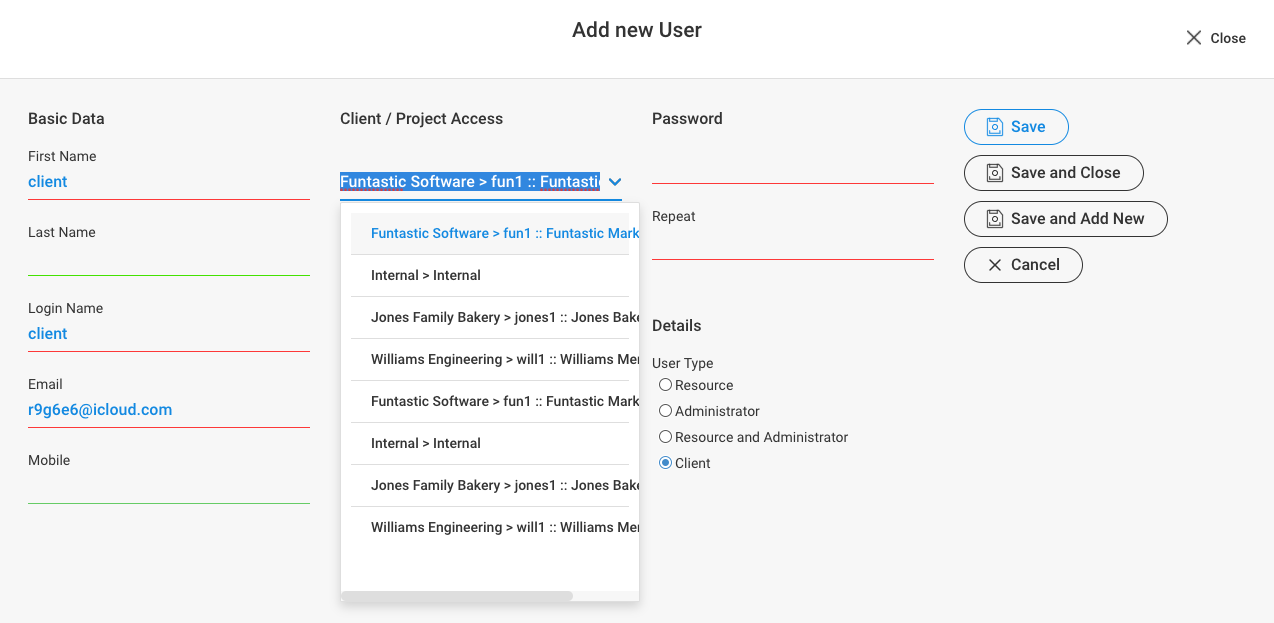
Go to Admin > Users, click on the Add New User button, and select Client in the Details table. Complete the mandatory fields: First Name, Login Name, Email, Client/Project Access, Password, and Repeat password. The Client/Project Access pulldown displays a list of active projects. Select one project belonging to the client. You will be able to select additional projects in the Project Access panel that will be available once the user record is saved. Click on the Save button.
Go to the Security tab and grant access to the TimeSite Pro screens that you would like your client user to be able to access. Typically, this will include the Enquiry, Reporting and Authorisation screens. It is not recommended that you grant access to the Settings or Administration screens. Note that Enquiry screen data access has been granted to View all data for Projects I have access to. Thus, data access is restricted to projects specified in the Project Access panel. 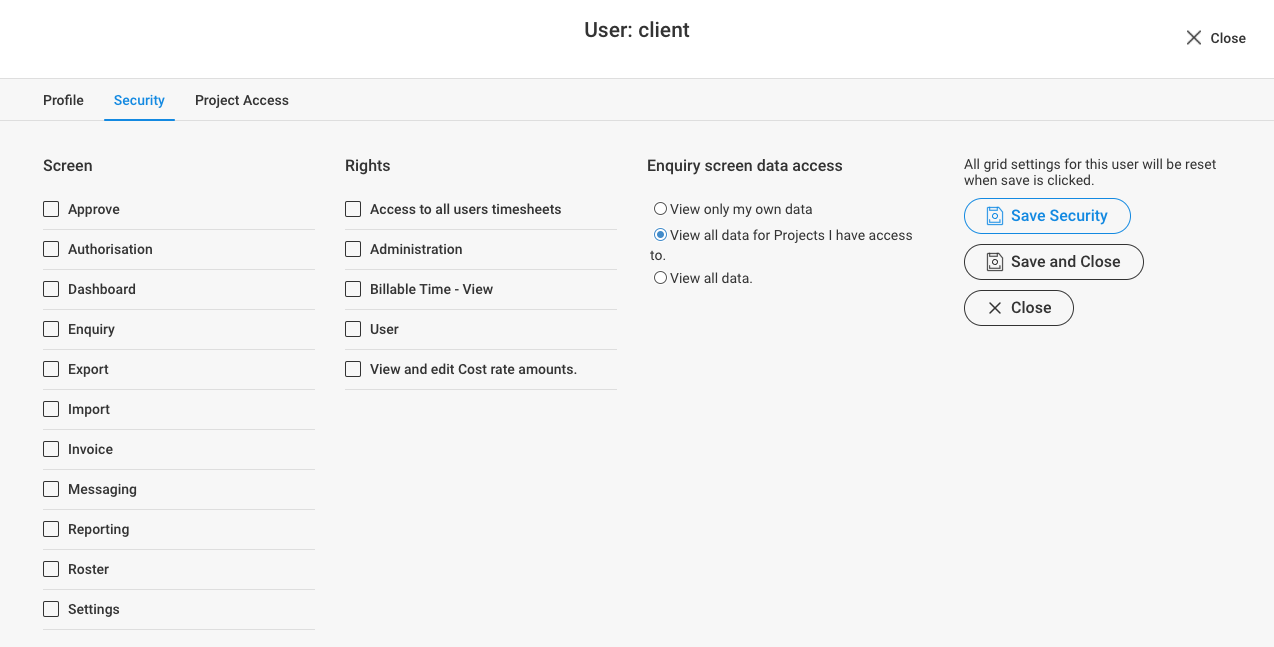
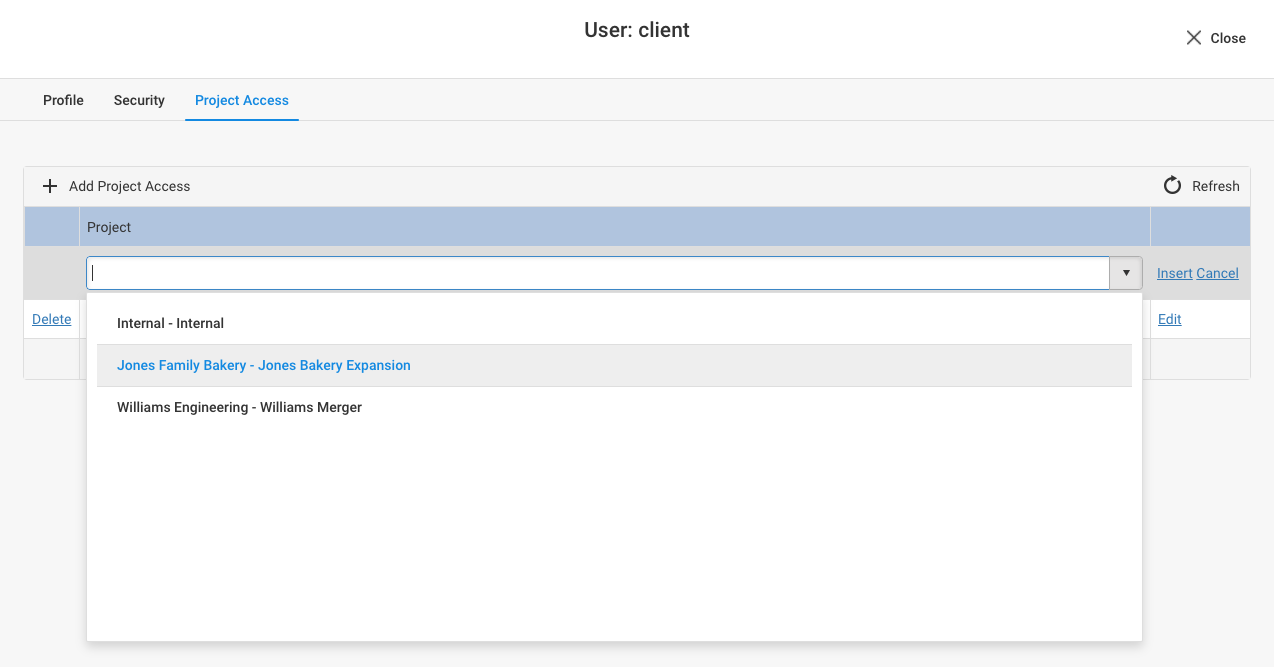
Go to the Project Access screen and pulldown on Project to add additional projects that you want your client user to be able to view.
We recommend that you log in as this new client user to confirm your security and project access settings.
Authorisation Settings
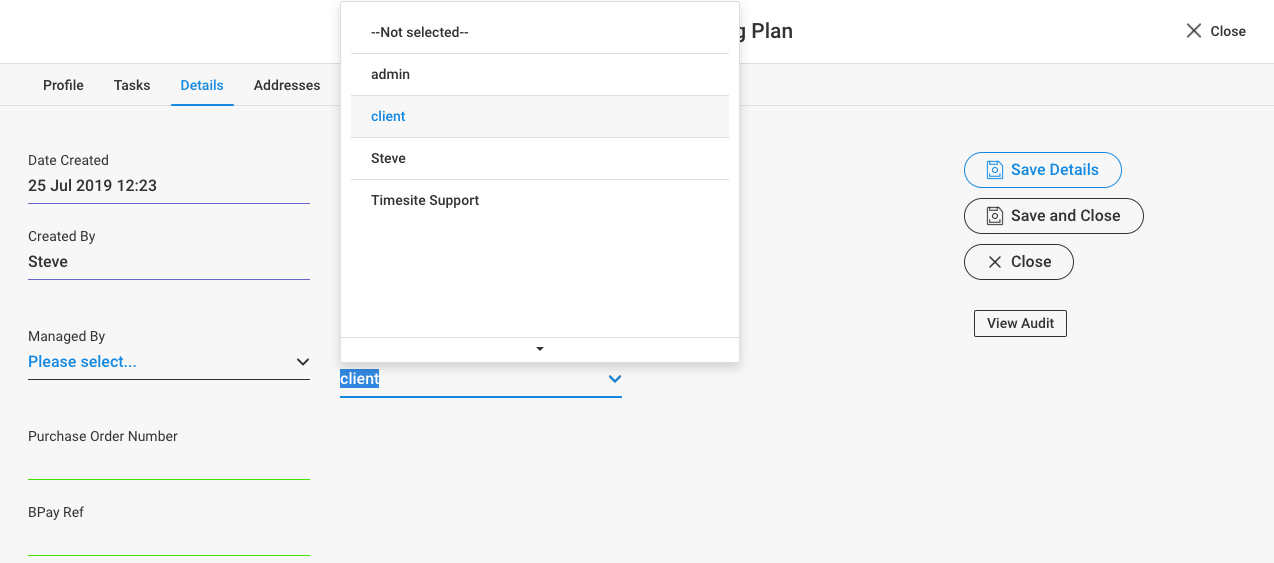
Once your client user has been added to your TimeSite Pro account, you can select this client user in the Authoriser pulldown in the Admin > Project > [select project] > Details screen.
Comments
0 comments
Please sign in to leave a comment.