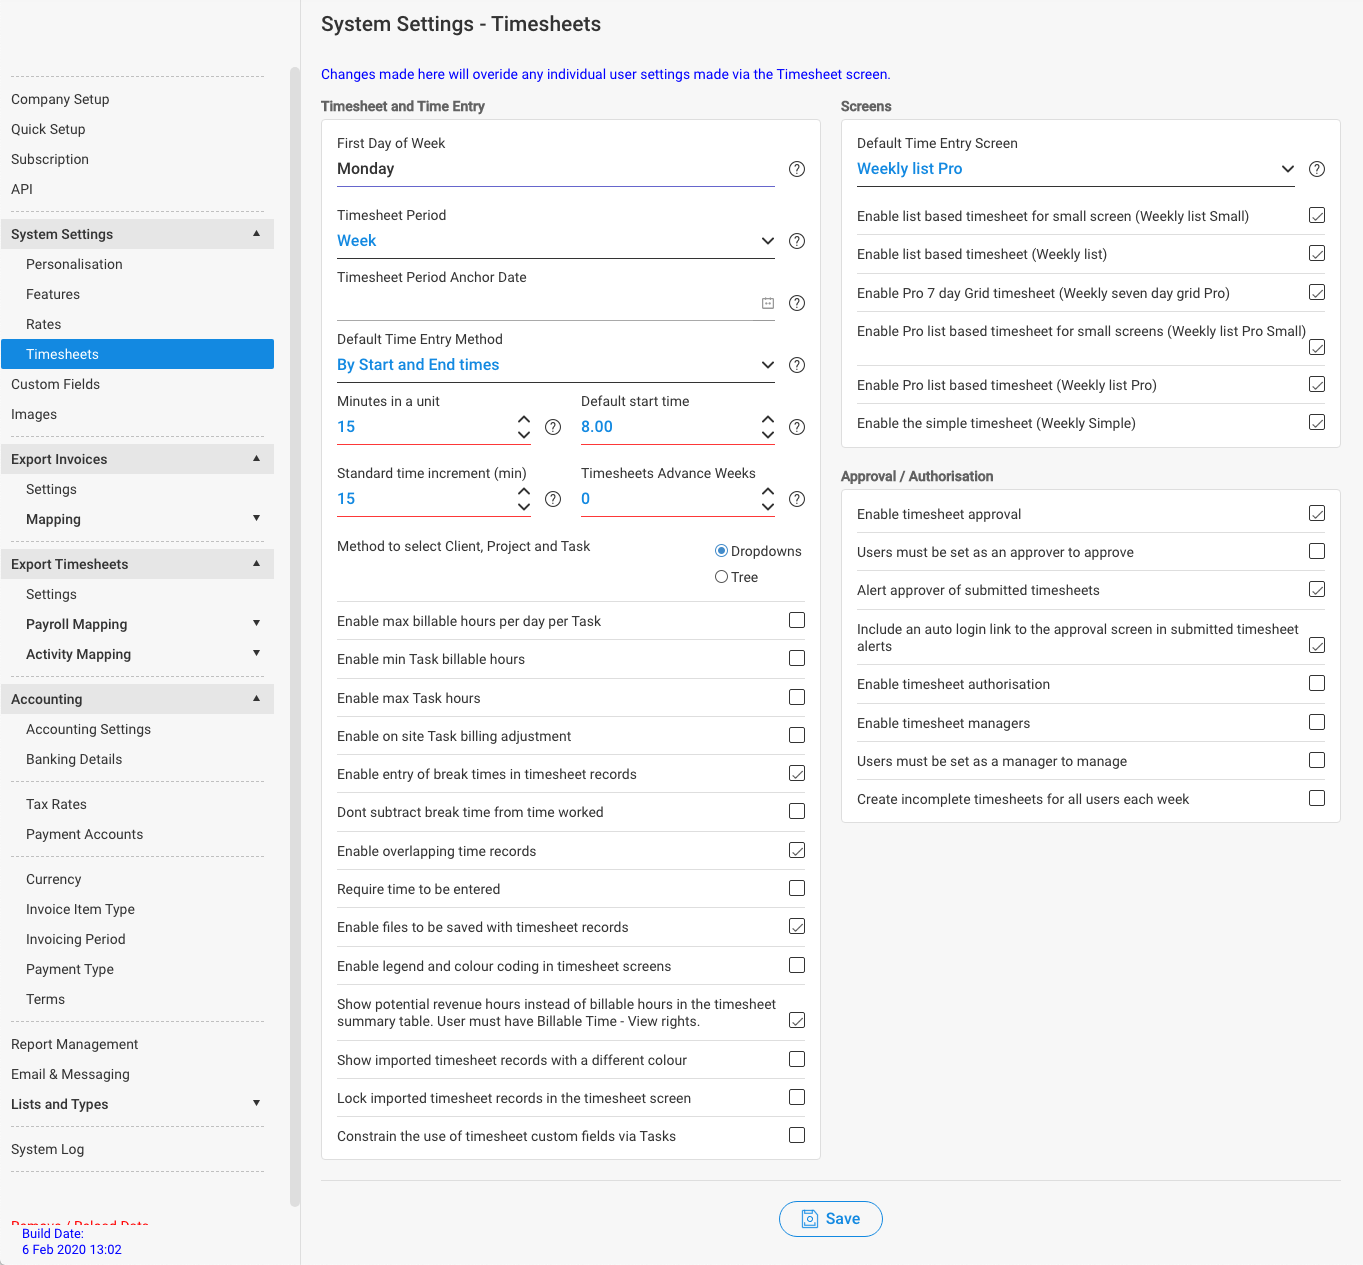
One of TimeSite Pro's strengths is the various ways in which timesheets can be configured to work the way that you need. This screen provides an extensive list of options to define your time tracking requirement. All configuration settings have a tooltip that is visible when you hover your mouse over the checkbox. This help article will only discuss settings that require a little more explanation.
If you are uncertain about what a particular setting will do, or if you want our advice on how to configure your timesheet, please contact our support team via chat or email. Remember to click on the Save button at the bottom of this settings screen when you make any changes.
Timesheet and Time Entry
These settings primarily control how the timesheet operates. Some of these settings related to the Timesheet screen itself. Others control how tasks can be configured.
First Day of Week
If you are using Weekly timesheets, then you can set the first day of your timesheet week to align with your payroll week. This setting can only be changed during your initial account configuration when no timesheet records have been entered.
Timesheet Period
You can select weekly, fortnightly, 4 week or calendar month timesheet periods. As with First Day of Week, this configuration setting can only be changed during your initial account setup when you have no timesheet records entered in your account.

Timesheet Period Anchor Date
If you are using fortnightly or 4-week timesheet periods, you can set the anchor data, that is, the first day of your timesheet period, to a specific calendar date. The First Day of Week acts as the anchor date for weekly timesheets. The 1st of a month is the anchor date for monthly timesheets.
Default Time Entry Method
Timesheet users can enter time into a timesheet record in a variety of ways.
- By Duration - 1.75 [h.hh]
- By Duration Minutes
- By Duration - 1:45 [hh:mm]
- By Start and End times
- By Time Units
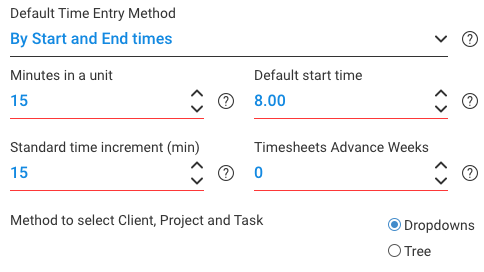
If Time Units is selected, then enter the number of minutes in a unit. For example, a lawyer may use 6-minute units, therefore there 10 units in an hour. If Duration or Start/End Times is used, then the Standard time increment will appear in duration and time pulldowns. If Start/End Times is used then Default start time will start the display of a time pulldown menu.
Enable legend and colour coding in timesheet screens
Refer to the help article How does the Timesheet Weekly Summary table work? for more information on the timesheet legend.
Show potential revenue hours…
Refer to the help article How does the Timesheet Weekly Summary table work? for more information on Potential Revenue Hours vs Billable Hours in the timesheet summary table.
Screens
The Timesheet screen provides a number of different layouts to suit smaller laptop screens and different timesheet data entry approaches. You can set the Default Time Entry Screen at the account level here. You can also enable selected timesheet layouts at the account level.
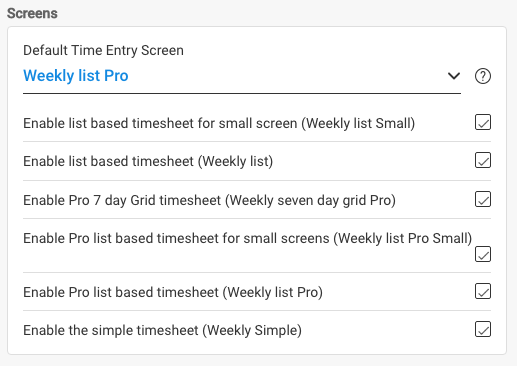
Individual users can use alternative timesheet layouts via Admin > User > [select user] > Settings > Time entry screen.
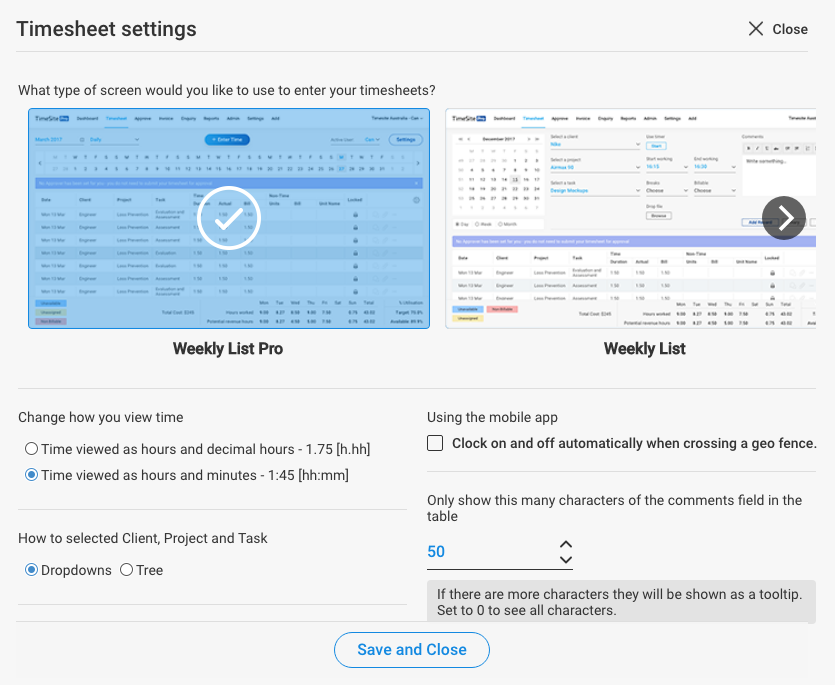
Individual users can then select alternative timesheet layouts (if permitted) in the Timesheet screen by clicking on the Settings button.
Approval / Authorisation
TimeSite Pro provides two separate but integrated workflows to enable managers to approve timesheets and clients or site supervisors to authorise work performed on various projects referenced in the timesheet. Refer to the help article What's the difference between timesheet approval and authorisation? for more information on these two workflows.
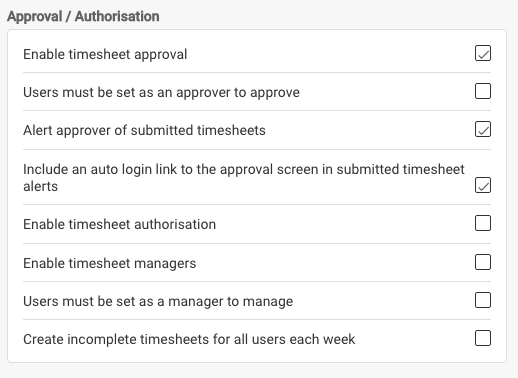
Users must be set as an approver to approve
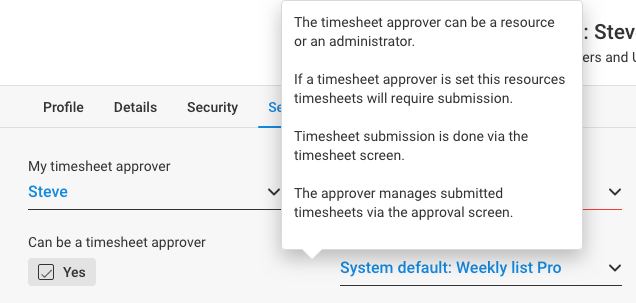
You can explicitly identify users as Approvers of timesheets submitted by their staff. This limits the My timesheet approver pulldown to a limited number of approvers. Go to Admin > User > [select user] > Settings > Can be a timesheet approver and enable this checkbox.
Enable timesheet authorisation
You can configure and use the timesheet authorisation workflow by enabling this setting. This means that you can identify a client or project as requiring authorisation for work performed and recorded in a timesheet. Go to Admin > Client > [select client] > Details > Work for this client Requires authorisation to enable authorisation for the client and enter an email address into Send authorisation for time worked to this email address.
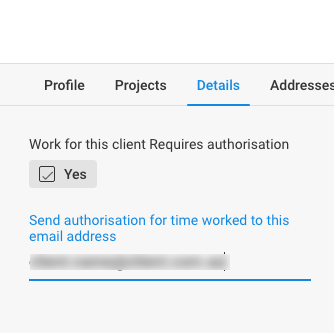
Go to Admin > Project > [select project] > Details > Work for this project requires authorisation to enable authorisation for the project and enter an email address into Send authorisation for time worked to this email address.
Enable timesheet managers
Users designated as timesheet managers are able to access other users timesheets and edit them. This can be useful for supervisors who may be entering timesheet details on behalf of their team. Note that timesheet managers cannot approve timesheets unless they are also designated as the timesheet approver.
Users must be set as a manager to manage
You can explicitly identify users as timesheet managers of other staff. This limits the My timesheet manager pulldown to a limited number of timesheet managers. Go to Admin > User > [select user] > Settings > Can be a timesheet manager and enable this checkbox.
Comments
0 comments
Please sign in to leave a comment.